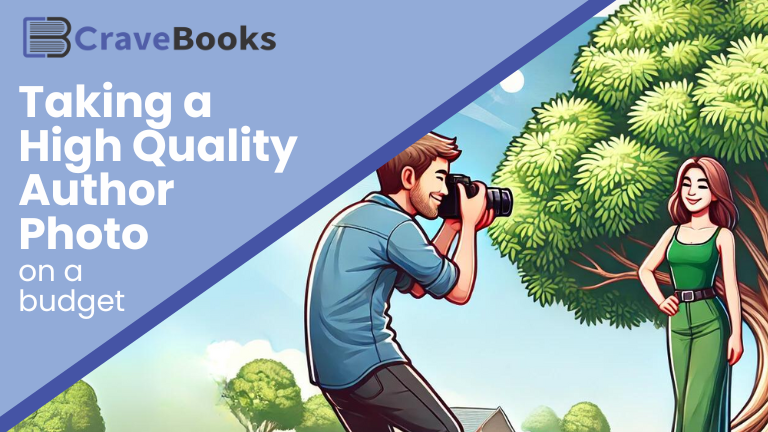
Like most soon-to-be-published authors, when I first started building my author brand, my budget was so minuscule, it was practically non-existent. Being a branding expert, though, I knew I needed a professional quality author photo as part of my author brand kit.
Why is it important?
Because once you seriously start considering publishing your book, you have moved from writer mode to professional business mode. To be seen as a professional, you need to present yourself as such through all of your branding efforts – including your author photo.
Also, you will be asked a lot for your author photo for a variety of reasons. Avoid the urge to cringe at every request by having something that you’re proud to share.
All of that said, I, probably like you, wanted my limited resources to go to the cover, editing, and marketing of my book more than to a photo of me. Fortunately, I could have both, and so can you. Here are some ideas to ensure you have a good quality author photo without spending hundreds or thousands of dollars.
Before we dive in, I want to say that if/when you have the budget, a professional photographer is almost always worth the investment. They are trained, have the experience, and have that creative eye to see through the lens for how to best capture you and your personality. Seeing ourselves captured so perfectly boosts our confidence and excitement in sharing the photos on our books, our author websites, and our other marketing materials.
How to Take a Professional Quality Author Photo on a Budget
- Start with your inner circle: Is anybody in your circle of family and friends an amateur photographer who could be a professional if they didn’t already have a job? Someone who takes the best photos at weddings and reunions because they have a natural eye for the best shot? If not, do they know anybody who fits the bill? Work out a barter with them to take your author photo – your published book can be part of the trade.
- Be your own photographer: If you can’t find someone else to take your author photos, learn how to take high quality selfies and portraits. There are a plethora of tutorials on YouTube and even free and low-cost courses you can take to learn how to better use your phone for photography of all kinds. As a bonus, this education will also come in handy for taking future photos and videos to use in social media and other marketing.
- Stay home…or close to home: You don’t need to travel to far-off places for a professional-looking photo shoot. Perhaps you have a beautiful office or writing corner that has great lighting and expresses your creativity perfectly. Use that as a backdrop. Or maybe your lush backyard makes for a lovely background. If you don’t have anything right at home, consider nature that’s close by, such as a park with a nice water feature, a beach at the lake or seaside, or a forest. Or maybe your personality and preferences are more urban. Use your favorite coffee shop where you like to write, look out for interesting brick buildings to use as a backdrop, or set up near train tracks running through the city (just, you know, remember safety first and watch out for trains!).
- Remember, you are the subject: While we may want to capture our personality with props and backgrounds of our favorite places, don’t lose sight that you are the subject, not all the pretty things around you. So even a plain sheet hung behind you with your face filling the frame makes for a nice quality author photo. As long as your camera and lighting are set right, you don’t need to go crazy with location and props.
- Lighting is key: Regardless of whether you prepare for a full-day photo shoot at the lake with a friend or take a few selfies while sitting at your desk, lighting is the most important element to consider. Too much and too harsh light is just as bad as too little light. Both can result in half (or all) your face thrown in shadows, making for unpleasant or even frightening results. Natural light is always best because it looks, well, most natural in the photo. Taking photos outside during the “golden hour” (late afternoon when it appears the sun drenches everything in golden light) is the most flattering. Positioning yourself and your camera to work with the light is also important. Lighting is one area those previously mentioned tutorials and classes can help.
If you’re like I was and on a tight budget, you can still have a professional quality author photo that you feel good about putting on your books and marketing materials. When evaluating which photo to choose, that should be your number one question: Do I feel good enough about this picture of me to give to everyone from readers to the national media? Because you never know when that opportunity might arrive. With a professional quality author photo already part of your brand kit, you won’t need to scrounge at the last minute to provide a photo you love.
